How Can We Help?
There are several ways to create an HTML email signature on WordToHTML.net:
- Create your email signature with our Email Signature Generator.
- Design your email signature from scratch by entering all text manually in the Visual Editor.
- Create an HTML email signature by using our built-in templates.
- You can paste a signature HTML into our HTML Editor created on any other website that offers to create signatures, then modify it (change text, add a photo or logo, etc).
- Use our AI Writer to generate a sample HTML signature code.
How to create an HTML email signature with our signature generator tool in a few simple steps
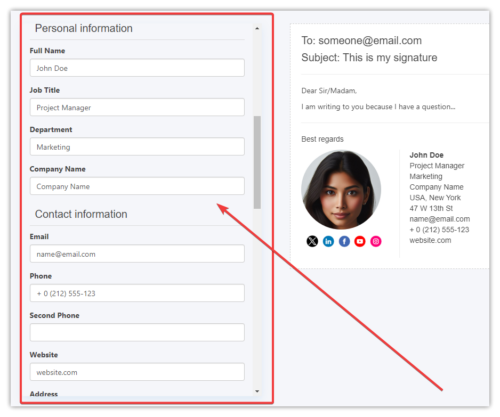
- Open the Email Signature Generator on WordToHTML.net
- If you are signed in upload your photo or company logo otherwise enter a URL adress to it.

- Select an option to see your photo on the left, right, top, or bottom (Photo Placement options just below the Photo URL field).
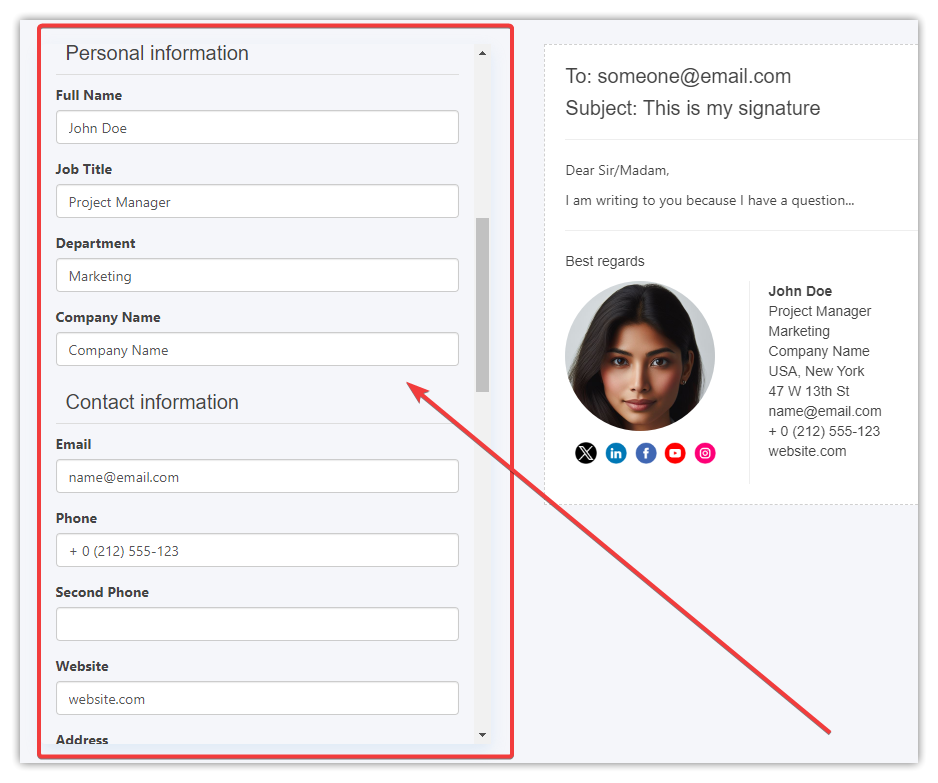
- Fill in all the signature contact details you need.
- Optionally add a banner image with an optional link (clicking on the banner will open the website URL you enter).
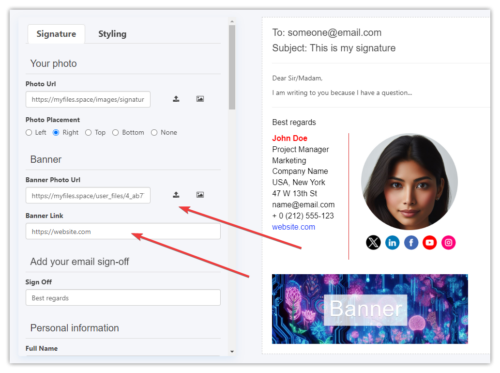
- Update your signature social profile links. It can be any icon URL and link if you like. If you don’t need it just select the None option from the Social Icons Placement.

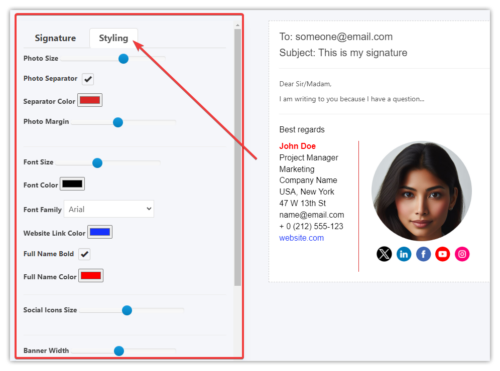
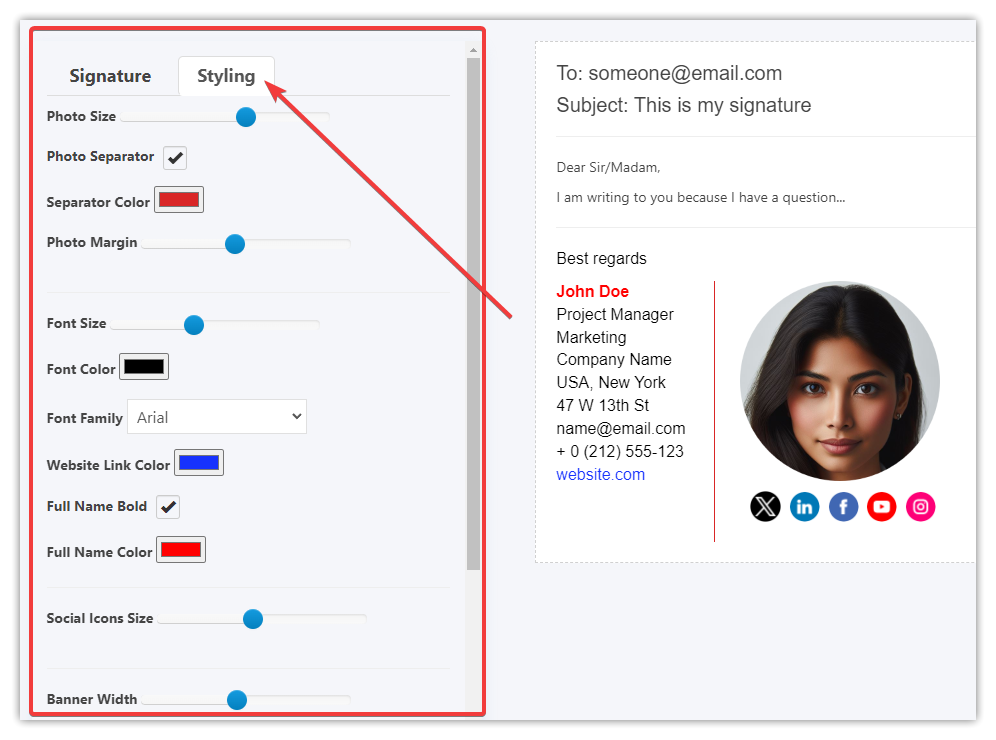
- Style your signature as you like:
- If you are signed in save your signature online.
- Copy the signature HTML code to the clipboard ready for pasting into your email client (Gmail, Apple Mail, Outlook, Outlook Live, Thunderbird, Yahoo). We recommend using Chrome or Edge browser. Firefox browser does not support copying HTML format into the clipboard yet.

- Test your signature by creating a new email and sending it.

- Please note that you can customize your signature fully in our Visual and Code Editors. Just click the white ‘Edit in Visual Editor’ button (you need to be logged in).
- That’s it! You’ve successfully added a new HTML signature. Also, feel free to send us any feedback…


How to design an HTML email signature manually from scratch
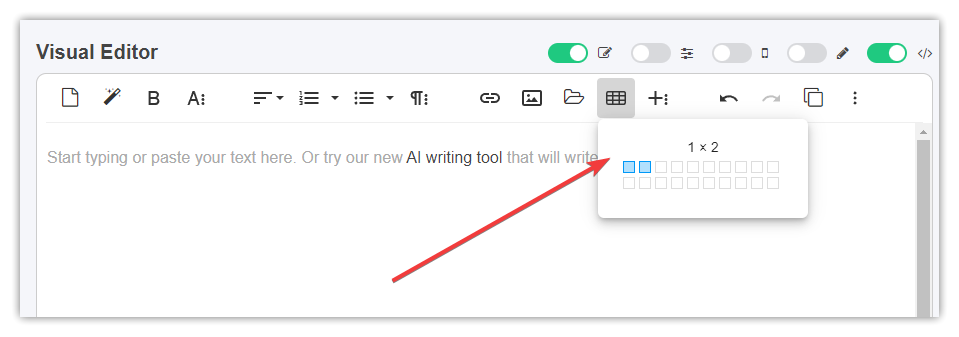
We recommend creating a signature in a table. For example, if you want to create a signature with your photo on the left side and all other contact details on the right side you can start by creating a table with two columns and one row:
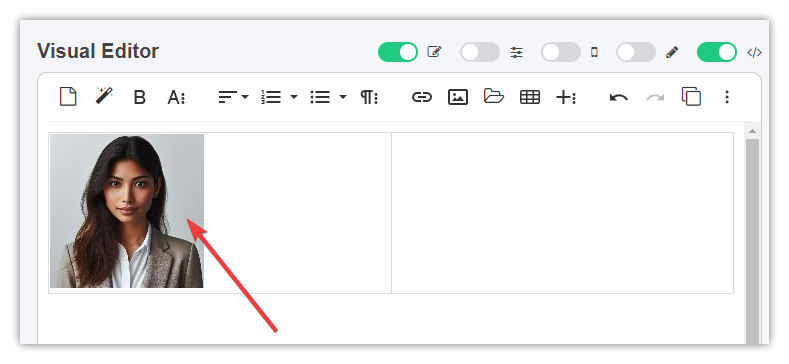
Then place your cursor in the left cell of that table and upload or paste your photo. We recommend either uploading a small photo or resize it when uploading:
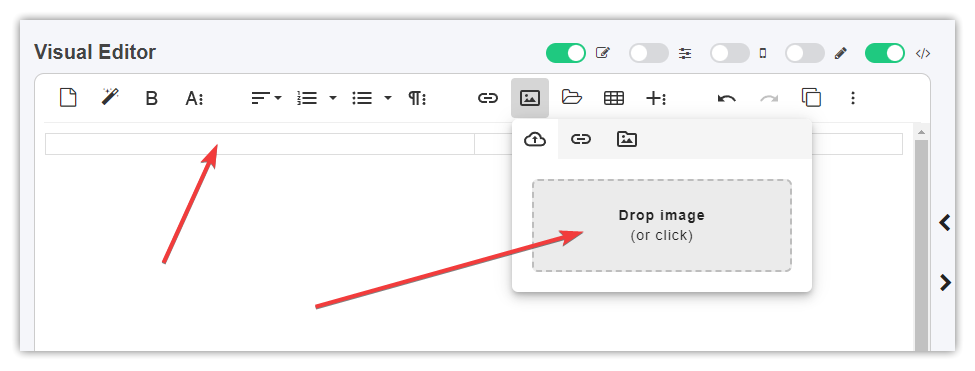
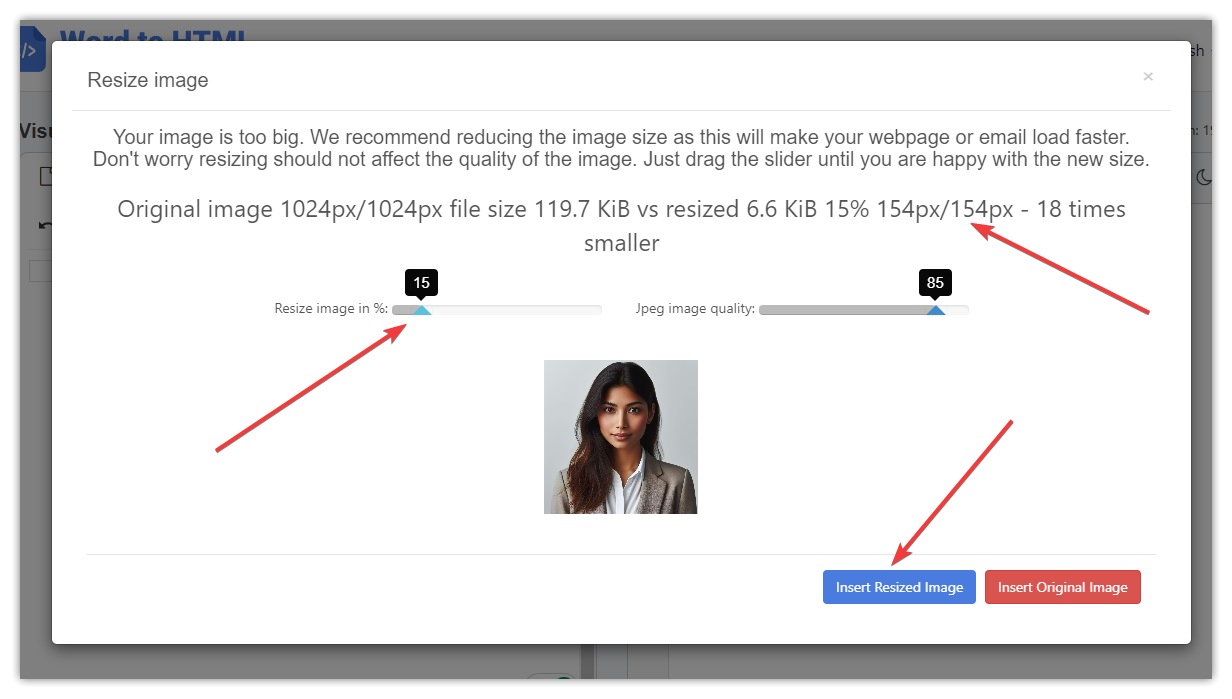
If your photo is big our site will automatically show you a modal dialog to resize it. We recommend resizing the photo to be around 100-200 pixels wide or tall.
Below you can see the resized image file which is a small file of 6.6 KiB (kilobytes), 154×154 pixels. Depending on your photo input size you need to resize it with a slider on the left side until you’ll visually see a small photo that you want to see in your signature. Then click the blue Insert Rezied Image button.
After that, you will see your photo on the left table cell:
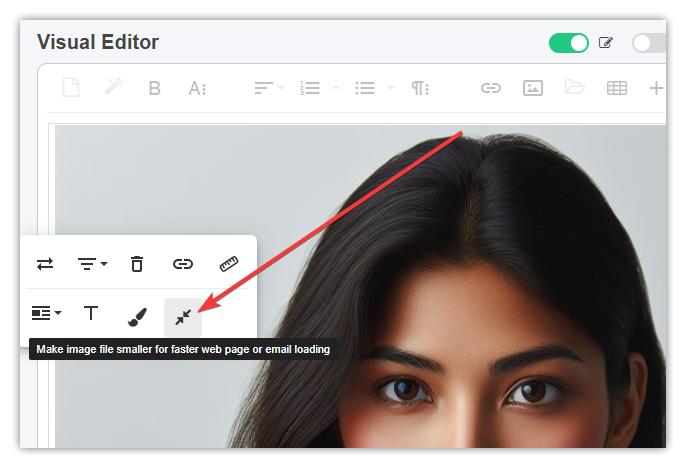
If you see a big photo in the Visual Editor just click on it and resize it to a small size as shown in the screenshot above (we recommend 100-200 pixels width/height).
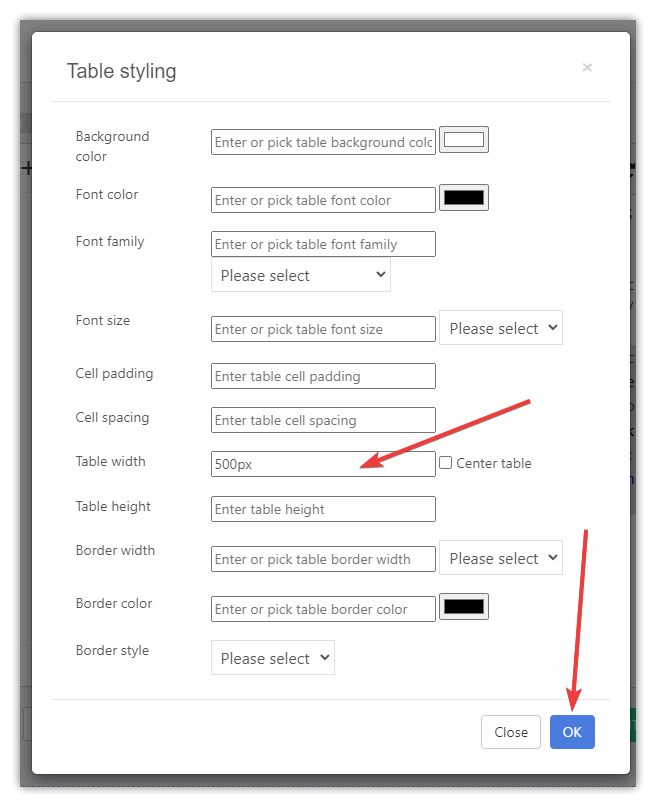
We recommend setting the table width to 500px (+-100px) by placing the cursor in any table cell and then clicking the Table styling icon:
![]()
Then enter table width like 500px and click OK:
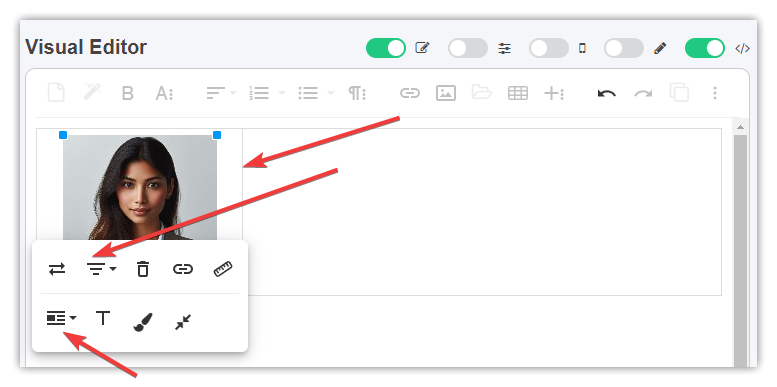
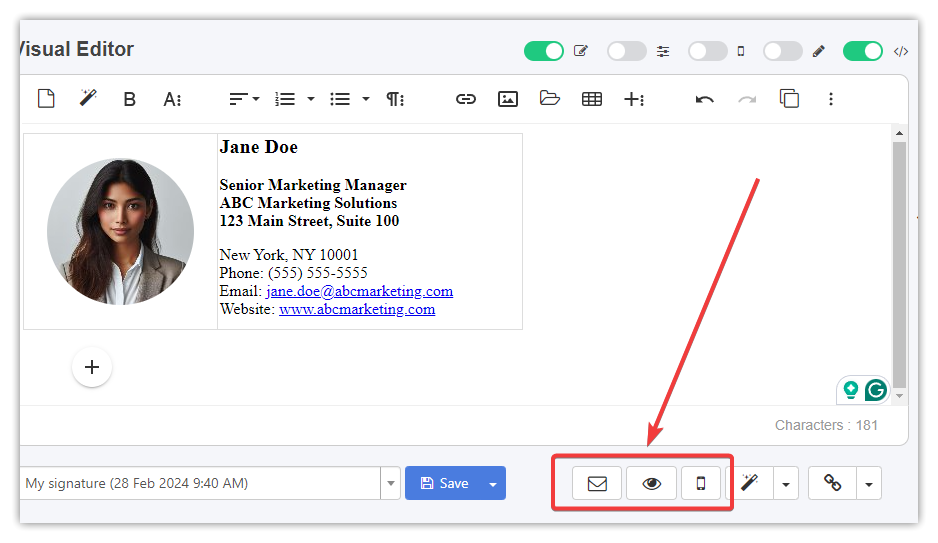
You can center the photo by clicking on it, then selecting Display to Break Text, and then clicking the center icon. Also, you can make the photo table cell smaller by dragging a horizontal line in the middle to the left side as shown in the screenshot below.
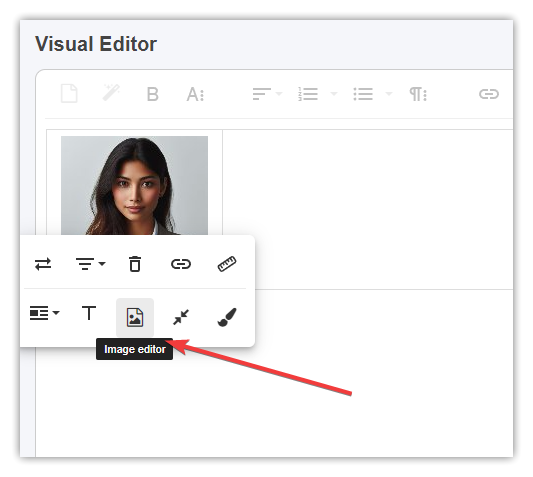
Optionally, if you want to have a rounded photo you can use our Image Editor. Click on the photo and then click the Image icon:
Then go to the Adjust section and pick Ellipse Crop and then click the Save button:

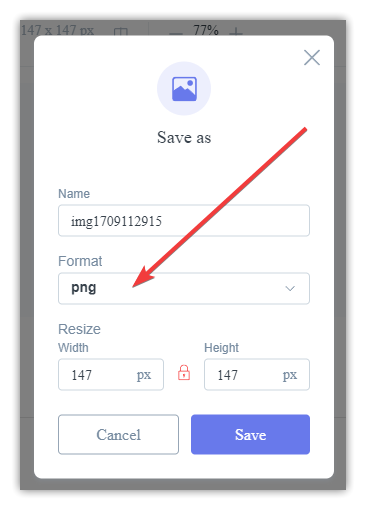
Then you have to select PNG format otherwise you will see a black background added to your image and click the Save button:
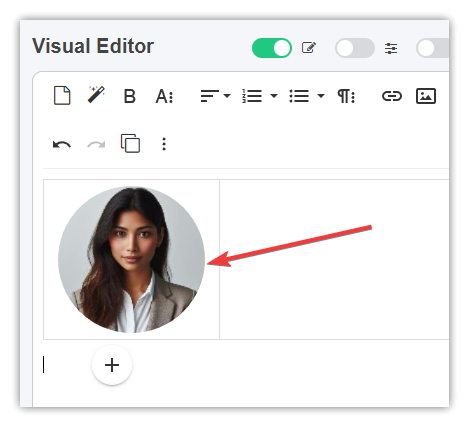
Then you should see a rounded photo in the Visual Editor:
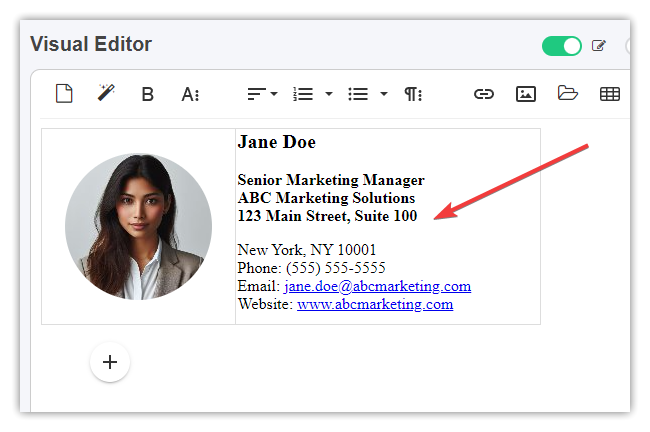
Then enter all your contact details and style as you like in the right cell. Tip: by default, if you press the Enter key Visual Editor will create a new paragraph of text that has line padding, but if you hold Shift and press Enter then it will enter a break line which does not add much space between the lines.
You can test your signature by sending it to your email client or by previewing it in a browser tab etc.
Optionally you can add icons with links to your social profiles or any sites you want:
![]()
Once you’re happy with your signature you can save it online on WordToHTML or copy to the clipboard and paste it into your email client.
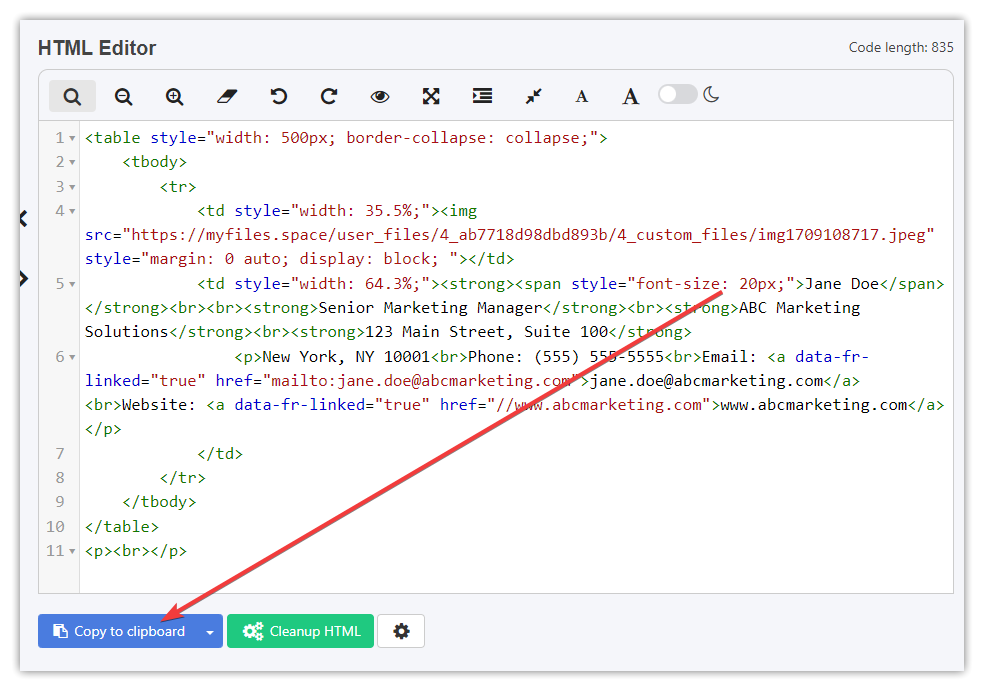
For example in Gmail go to all Settings and find the Signature in the General section, then Create a new or edit the existing signature.
Then paste HTML from WordToHTML.net into the signature text field like shown below, select this signature “for new emails” and click the Save Changes button at the bottom of the Settings page.
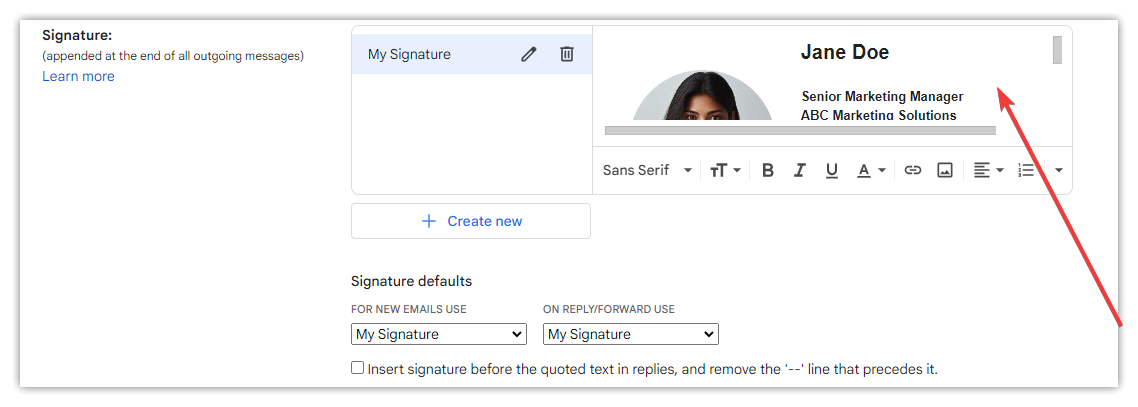
If all went fine when creating a new email in Gmail you will see your signature as shown below:

How to create an HTML email signature from a built-in template
All you have to do is click an icon to select the HTML template from the toolbar:
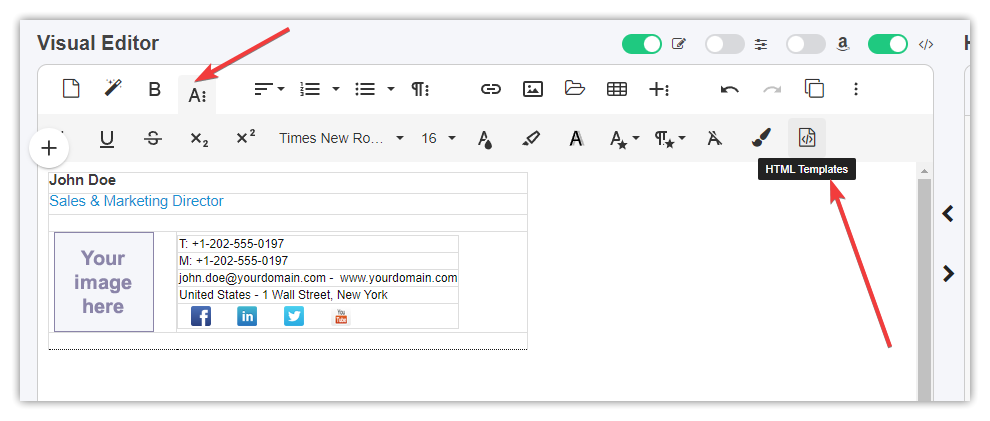
Then select your signature template:
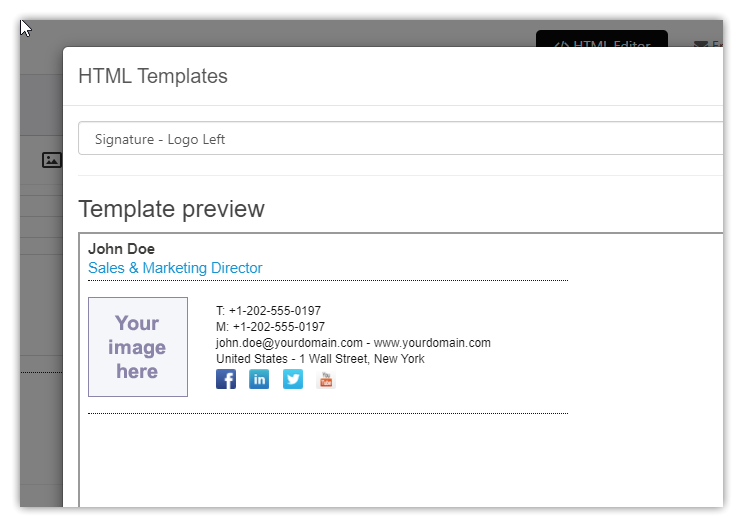
Once you have selected the template you can edit the content in the Visual Editor:
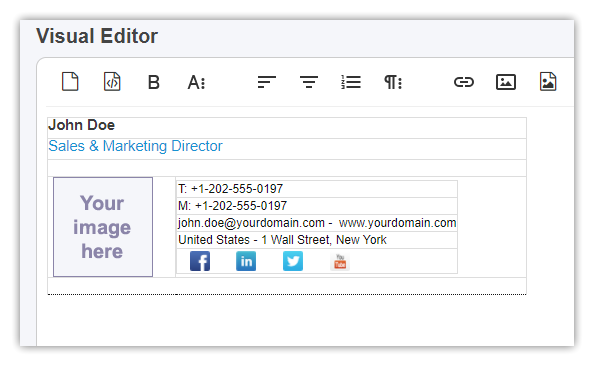
Replace the placeholder picture with your own in jpg or png format. We do not recommend embedding images or using SVG format because some email clients do not support it.
If you want to add more icons to your signature (like the social media links) we recommend you use icons from the Icons site or you can download PNG icons from the Icon Finder and upload them to our website.
Once you have created your signature you can then copy and paste it into your email application:
Since 2023 you can even use our AI Writer tool to generate a signature template for you, but you have to be more specific with the AI prompt to get the results you need.
For example, an AI prompt like this:
Create a CEO HTML signature by using a table with a logo on the left side and my information on the right side. Please use CSS only as inline styles.

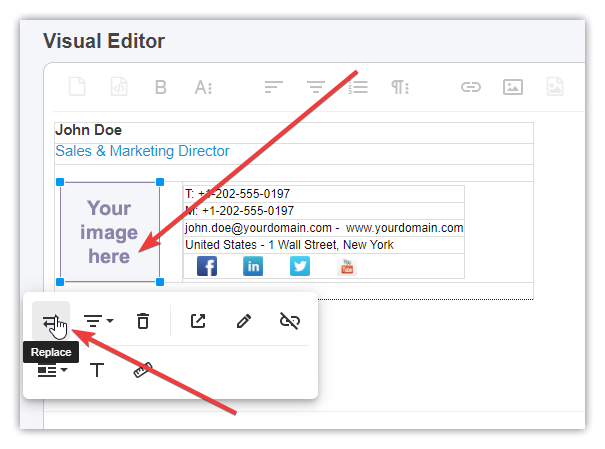
This should generate a similar HTML signature. To set your logo please click the image placeholder and click the Replace icon. Then either select the already uploaded logo or upload one and select it.
![]()
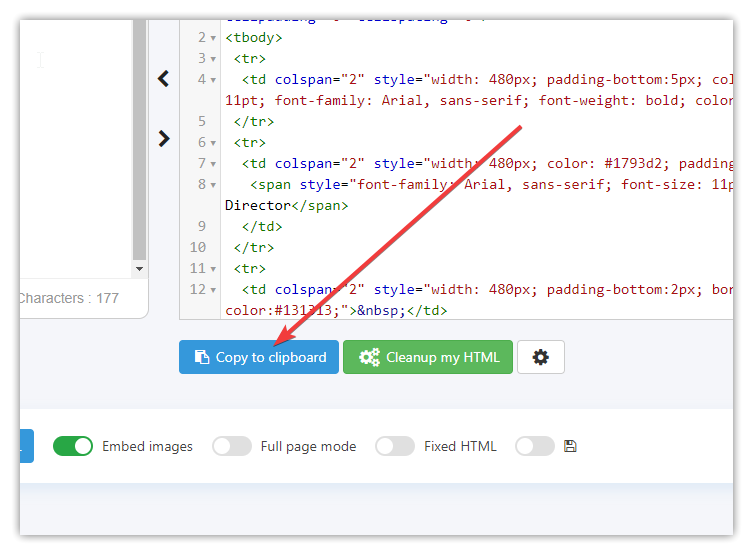
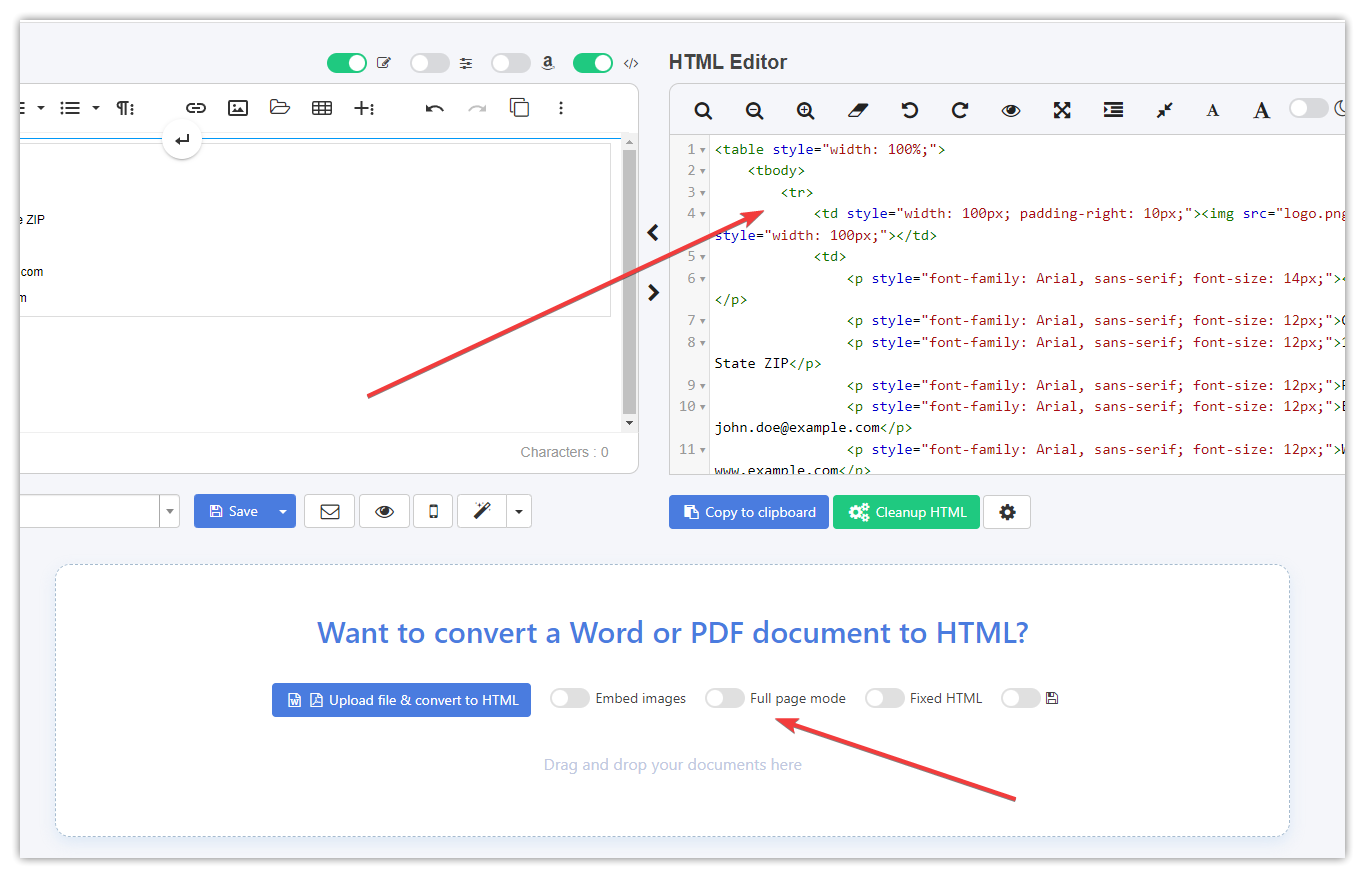
We recommend disabling the Full page mode to see and copy only the main HTML:
Once you update the logo image the signature will look like below. Update signature info as you need then copy it to the clipboard, and paste it in any email client you want.
![]()