How Can We Help?
To create sub-lists under the default Visual Editor you have to follow these steps.
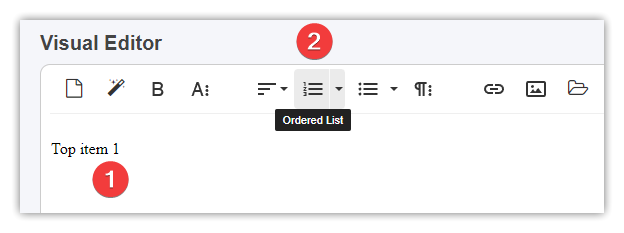
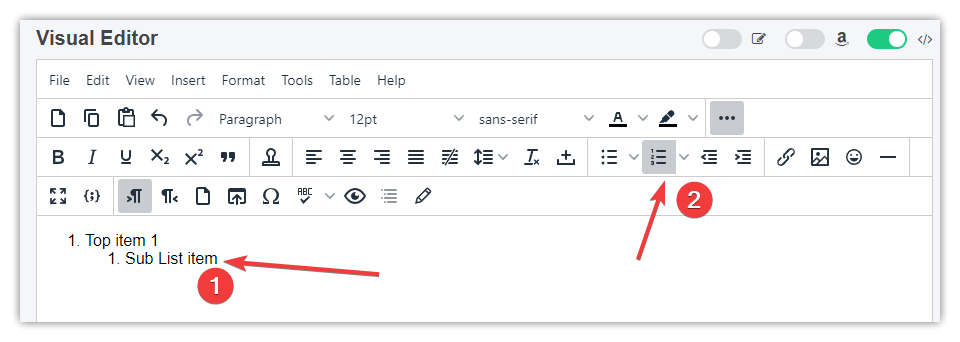
- Create a list by entering the first list item (1), then click the Ordered list icon (2).
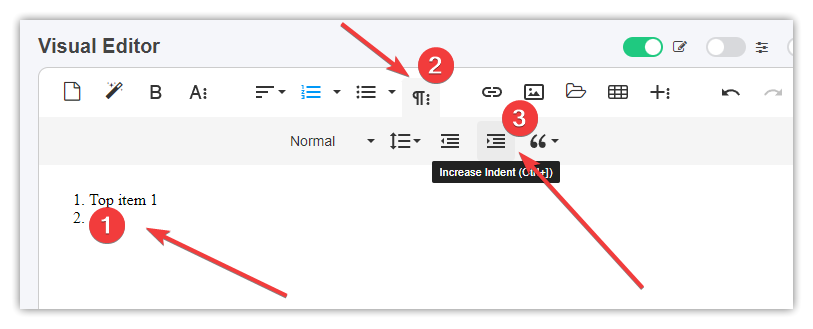
- Then if you want to create a sub-list please hit Enter after Top item 1 text to create a new empty list item (1), then click icon (2) and click the Increase Indent icon (3):
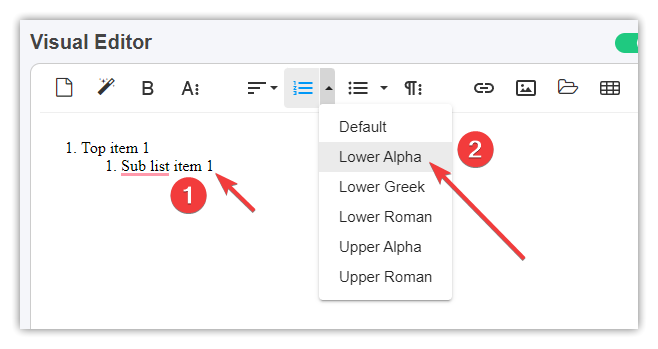
- The Visual Editor will create a new sub-list item (1), optionally you can change the list type by clicking the list type icon (2):
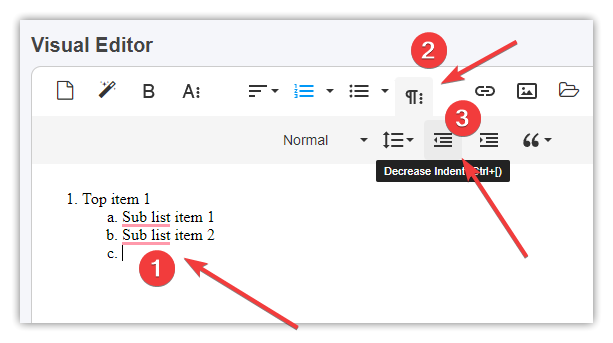
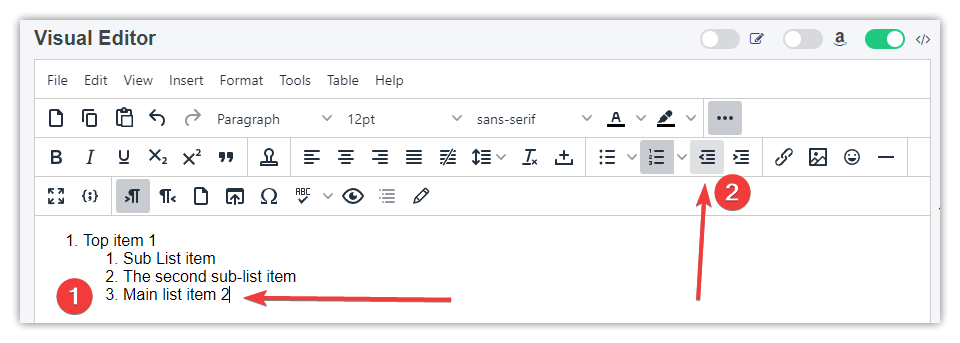
- If you want to end that sub-list, then just create a new sub-list item (1) and click the Decrease Indent (2) icon:
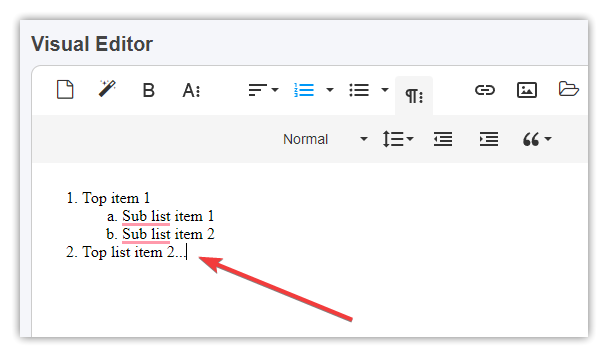
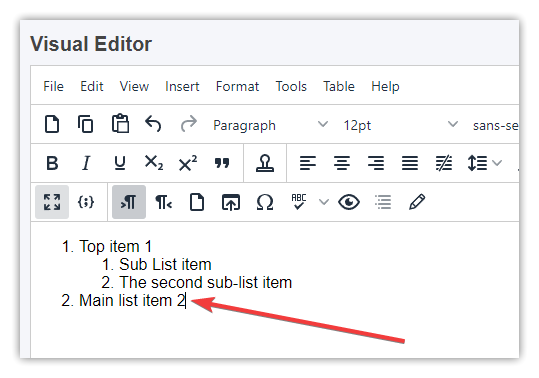
- Now you can enter new items for your top list:
To create sub-lists under TinyMCE Visual Editor you have to follow these steps.
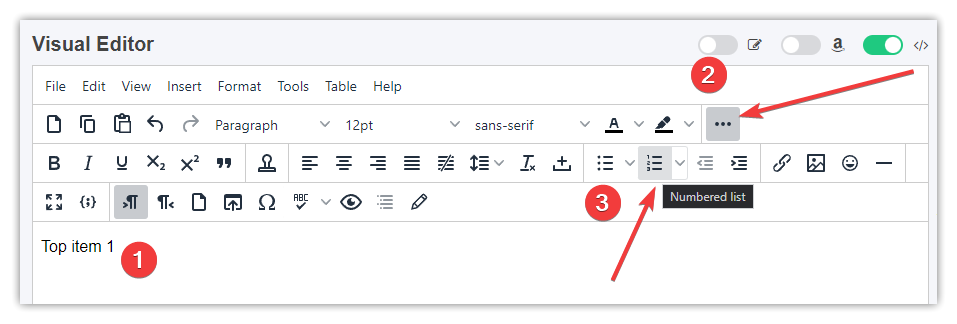
- Create a list by entering the first list item (1), then click the … dots icon (2) to see all Visual Editor icons, and click the Numbered list icon (3).
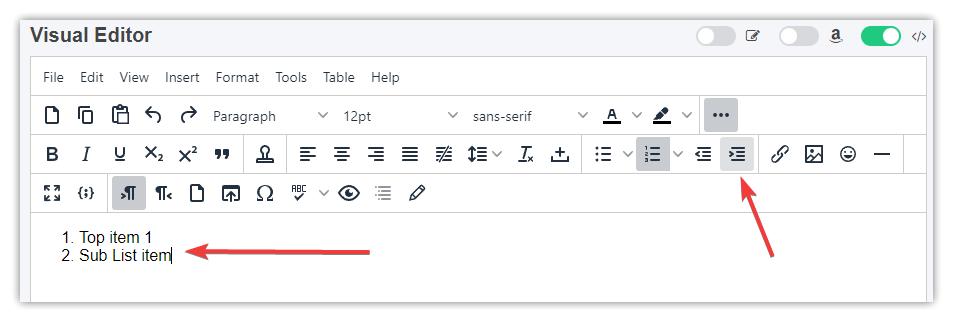
- Then if you want to create a sub-list please hit Enter after Top item 1 text to create a new empty list item and click the Increase Indent icon:
- Visual Editor will create a new sub-list item (1), optionally you can change the list type by clicking the list type icon (2):
- If you want to end that sub-list, then just create a new sub-list item (1) and click the Decrease Indent (2) icon:
- Now you can enter new items for your top list:
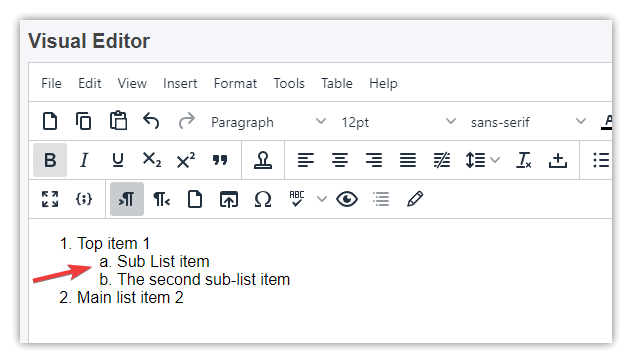
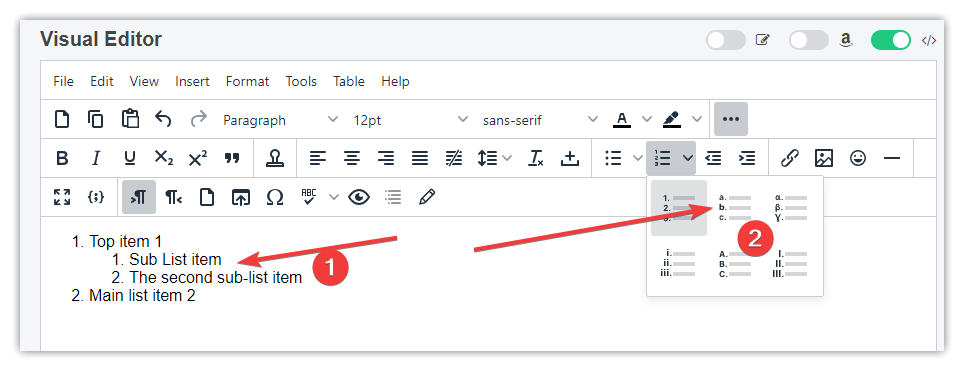
If you want to change sub list type, just click at the first item on your sub list to place editor cursor (1) there and click either numbered (2) or not list type icons:
Clicking the Lower Alpha list type will change the list type like this: