How Can We Help?
Here’s a step-by-step guide on how to add a new HTML email signature in the Gmail web app:
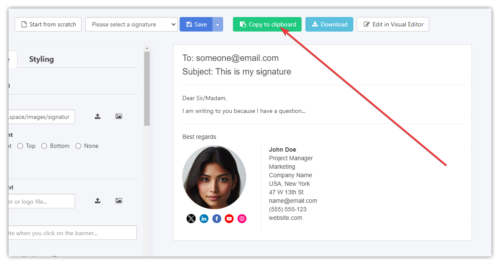
- Copy the email signature from WordToHTML.net to the clipboard.
- Open Gmail: Go to your web browser and navigate to Gmail. Sign in with your Google account credentials if you’re not already signed in.
- Access Settings: Once you’re logged in, locate the gear icon in the upper-right corner of the Gmail interface. Click on it to open the settings menu.
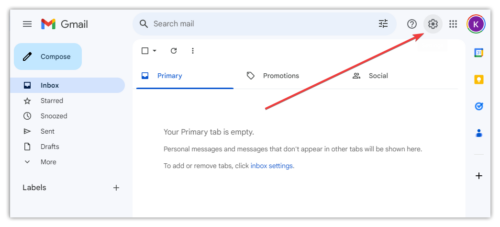
- Go to Settings: In the settings menu, click on “See all settings” to access the full range of Gmail settings.

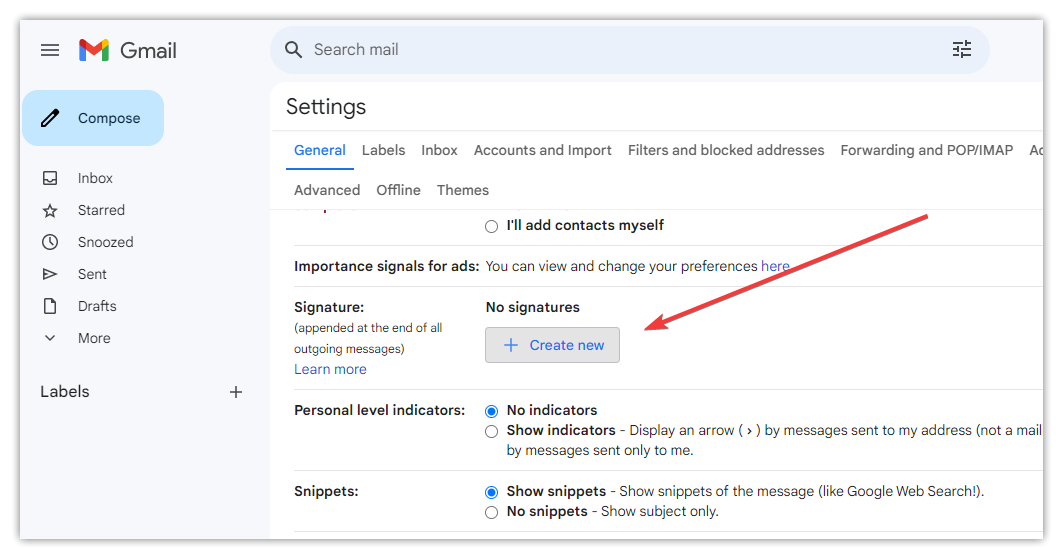
- Navigate to the Signature Section: Within the General settings, find the “Signature” section.
- Create a New Signature: In the signature settings, you’ll see options to create a new signature. If you already have a signature, it will be displayed here. To create a new one, click on the “Create new” button, enter your signature name, and click the Create button.

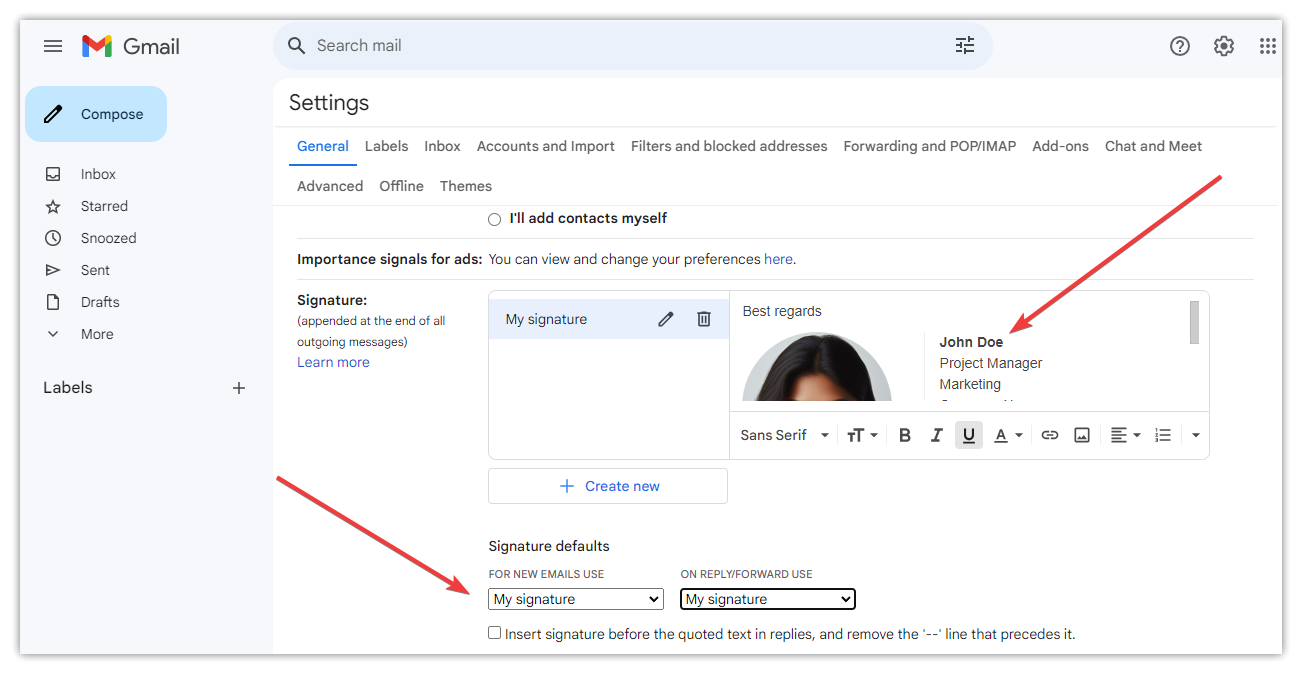
- Please Your Signature HTML: In the signature editor paste your HTML email signature copied from the WordToHTML.net signature generator.

- Save Your Signature: After you’ve entered your HTML signature, scroll down to the bottom of the Settings page and click on the “Save Changes” button to save your new signature.
- Compose a New Email to Test: To ensure your HTML signature appears correctly, compose a new email. You should see your HTML signature displayed at the bottom of the email body.

- Test Your Signature: Send a test email to yourself or a colleague to make sure your signature displays properly and looks the way you want it to.
- Adjust as Needed: If your signature doesn’t display correctly or you want to make changes, go back to the signature settings, make adjustments to your HTML code, and save your changes again.


That’s it! You’ve successfully added a new HTML signature to your Gmail account in the web app.