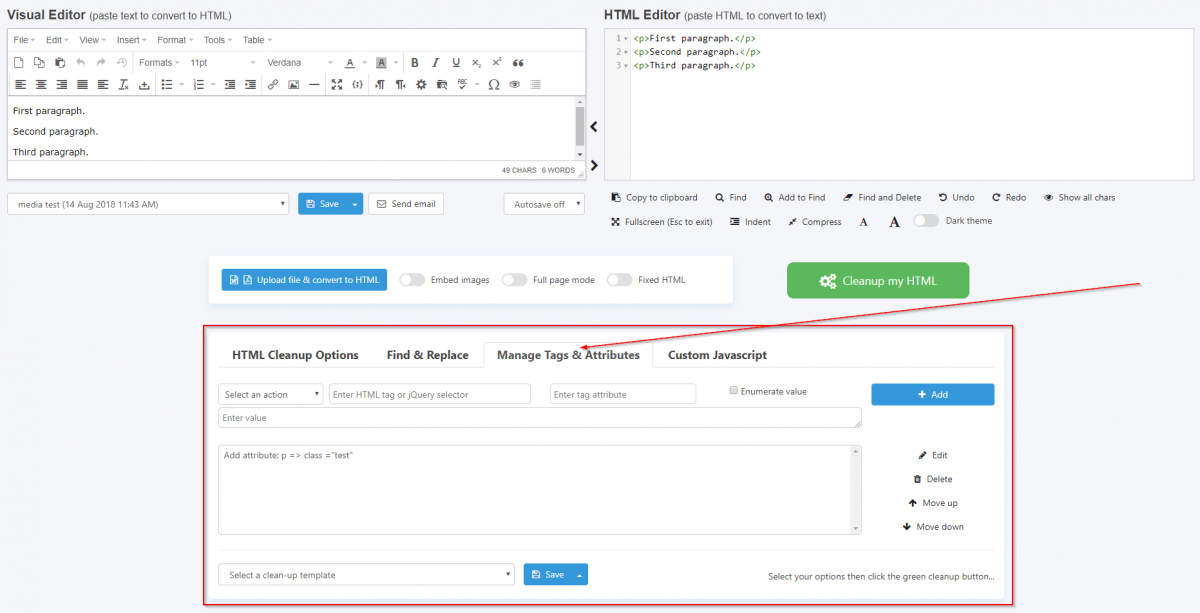
This feature lets you customize the tags and their attributes. You can add and delete attributes, for example, say you had this code in your file:
<p>First paragraph.</p>
And you wanted to apply your CSS Stylesheet to the text, then you could use this feature to add this attribute:
<p class="className">First paragraph.</p>
Actions
Add attribute
Remove attribute
Append HTML to elements
Prepend HTML to elements
Remove elements
Wrap elements
Wrap inner content of elements
Unwrap elements
Replace elements
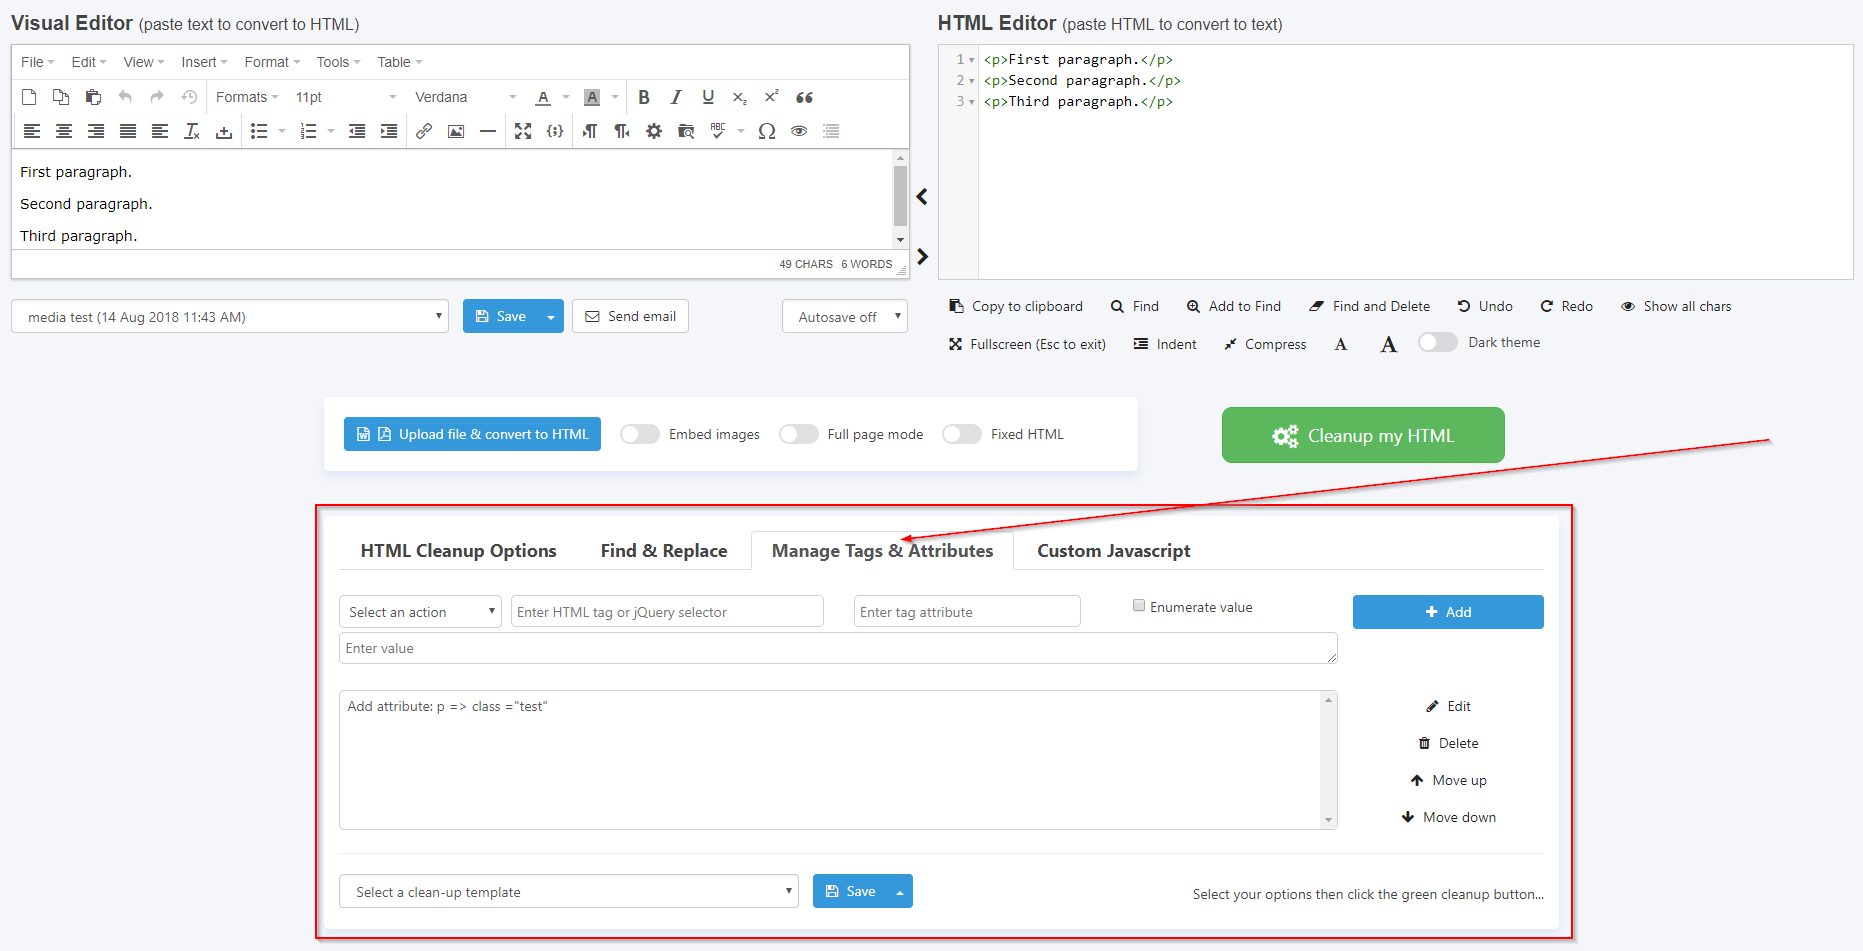
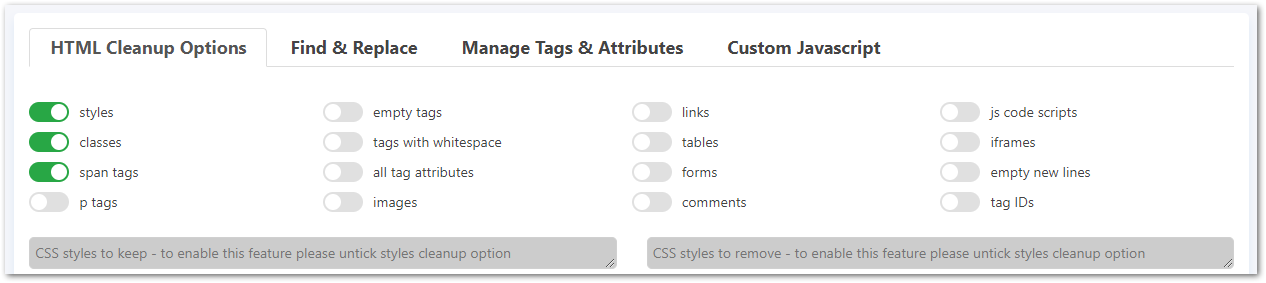
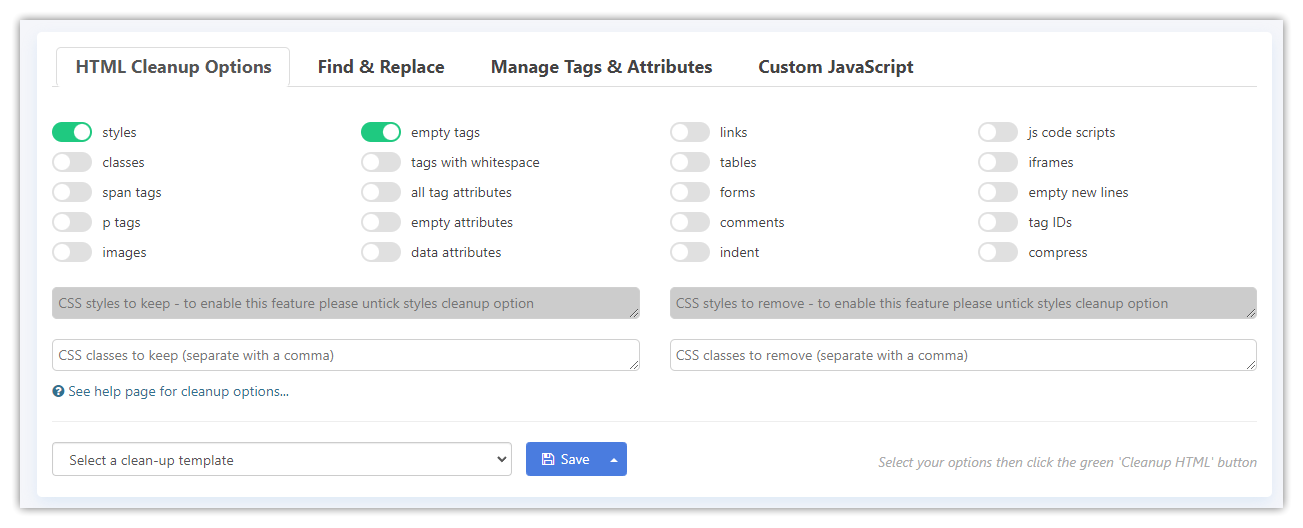
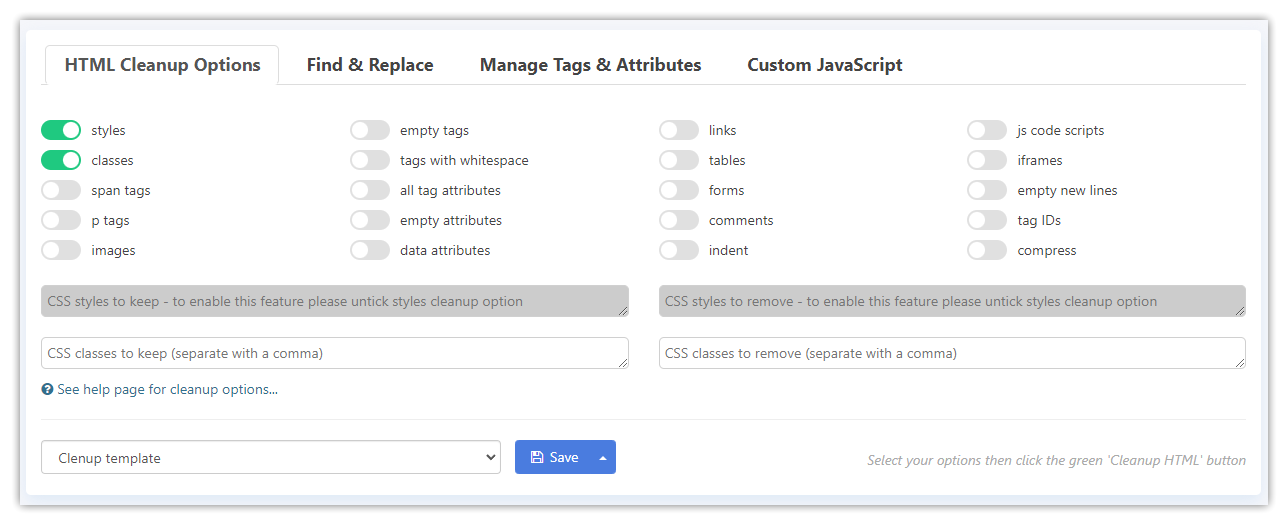
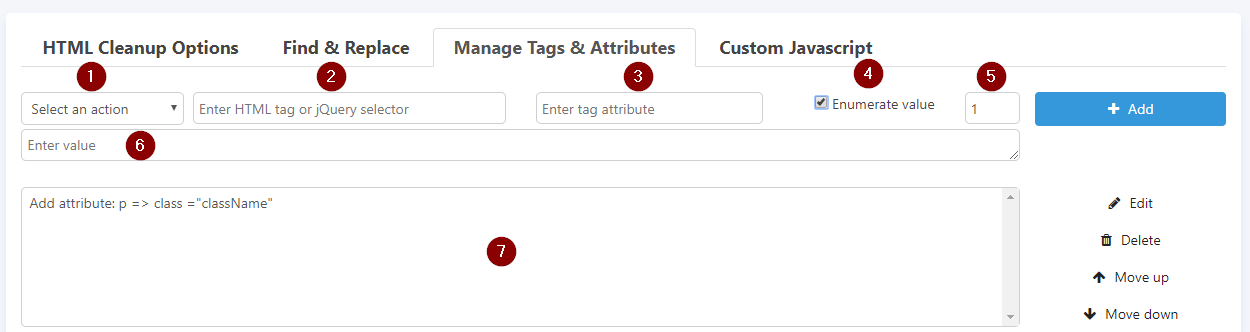
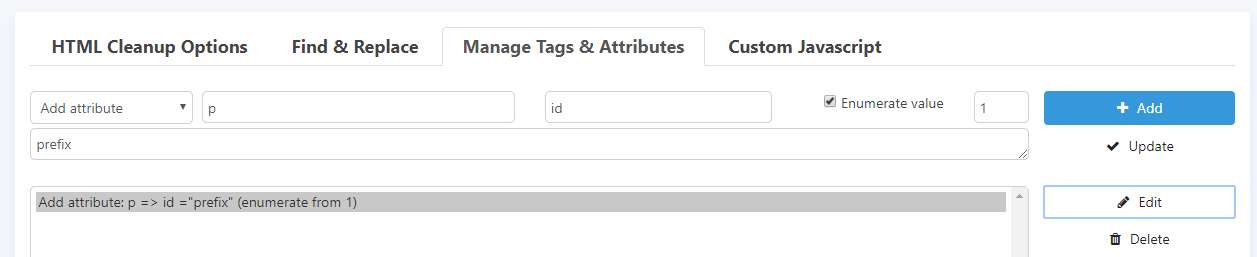
Here is an overview of the section options
1 – Tag or attribute actions drop down – select what you would like to do.
2 – HTML tag or comma separated tags (elements) like p, span, div or selector like div.p or .someClass
More info about selectors: https://www.w3schools.com/cssref/css_selectors.asp
3 – HTML attributes like id, class, style etc. Please note that class and style attributes at treated differently if you enter some values for them.
4 – Enumerate attribute values on/off.
5 – Start number when enumerating attribute values.
6 – Attribute or tag values. This field can contain HTML too.
7 – List of actions that will be performed on HTML.
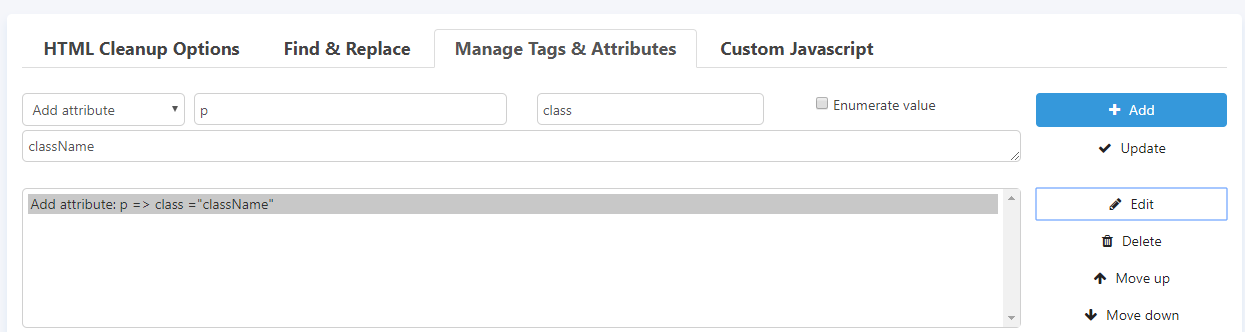
Add attribute examples:
Add a class attribute to p tags. Input HTML:
<p>First paragraph.</p>

<p>Second paragraph.</p>

<p>Third paragraph.</p>

<div>

Last section.

</div>
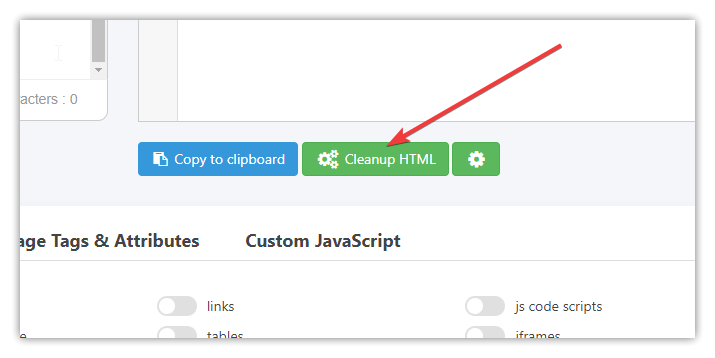
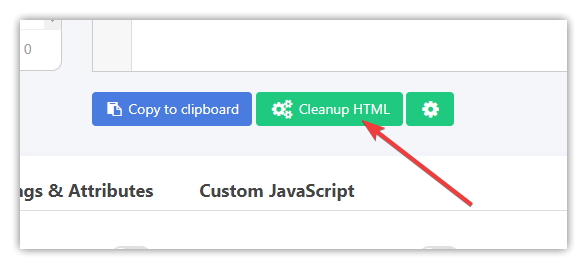
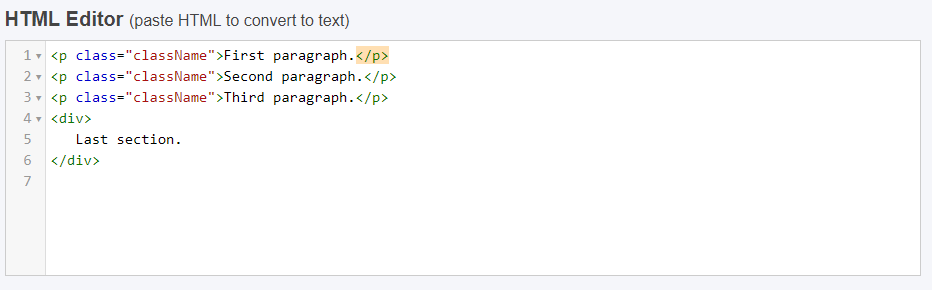
Output HTML after clicking Cleanup my HTML green button:
<p class="className">First paragraph.</p>

<p class="className">Second paragraph.</p>

<p class="className">Third paragraph.</p>

<div>

Last section.

</div>
Please note that div tag does not have a class attribute.
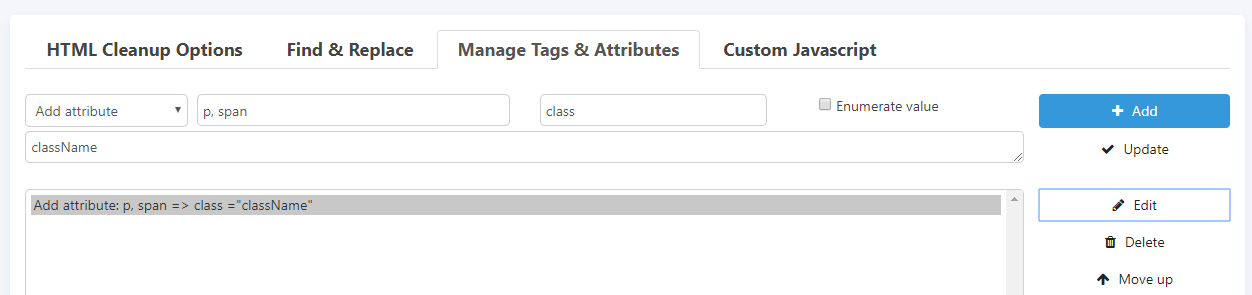
Add class attribute to p and span tags. Input HTML:
<p>First paragraph.</p>

<p>Second paragraph.</p>

<p>Third paragraph.</p>

<span>Fourth line.</span>

<div>

Last section.

</div>
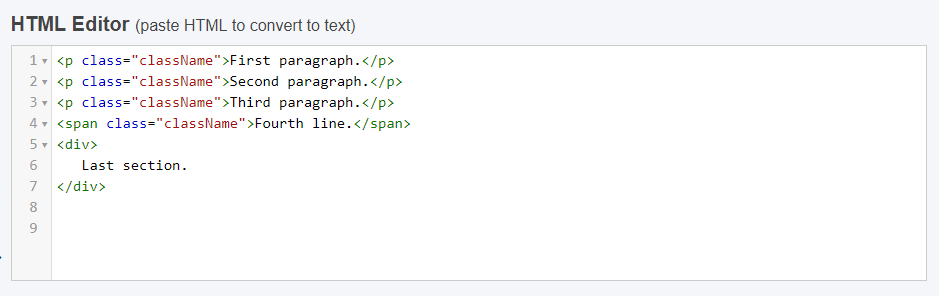
Output HTML:
<p class="className">First paragraph.</p>

<p class="className">Second paragraph.</p>

<p class="className">Third paragraph.</p>

<span class="className">Fourth line.</span>

<div>

Last section.

</div>
Please note that div tag has no class attribute only p and span tags.
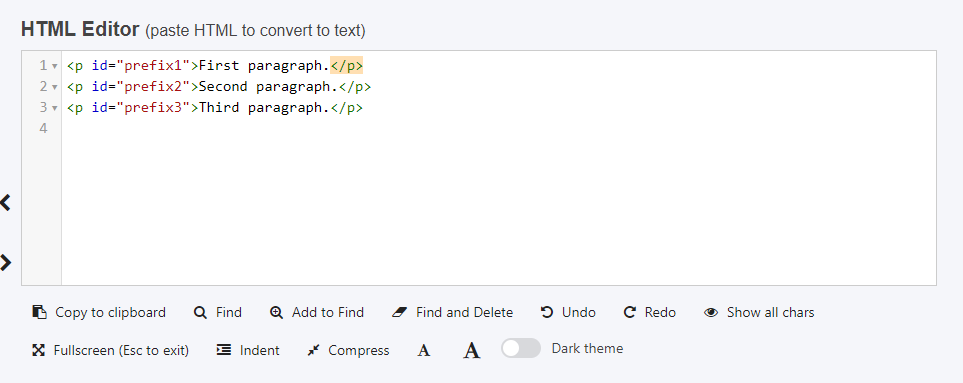
Add enumerated (starts from 1) id to p tags. Input HTML:
<p>First paragraph.</p>

<p>Second paragraph.</p>

<p>Third paragraph.</p>
Please note that you can add numbers (enumerate any attributes, but usually it only makes sense for id attribute).
Output HTML:
<p id="prefix1">First paragraph.</p>

<p id="prefix2">Second paragraph.</p>

<p id="prefix3">Third paragraph.</p>
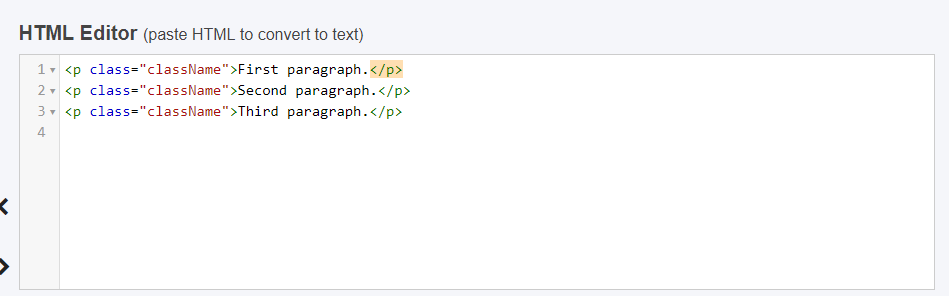
Add a class to p tags. Input HTML:
<p>First paragraph.</p>

<p>Second paragraph.</p>

<p>Third paragraph.</p>

Output HTML:
<p class="className">First paragraph.</p>

<p class="className">Second paragraph.</p>

<p class="className">Third paragraph.</p>
Add or replace a single CSS style to p tags. Input HTML:
<p style="color: red">First paragraph.</p>

<p>Second paragraph.</p>

<p>Third paragraph.</p>
Note: to add or replace particular CSS style please enter only one CSS rule. If you enter more rules then whole style attribute value will be replaced if style attribute already exists for a given tag.

Output HTML:
<p style="color: red; font-weight: bold;">First paragraph.</p>

<p style="font-weight: bold;">Second paragraph.</p>

<p style="font-weight: bold;">Third paragraph.</p>
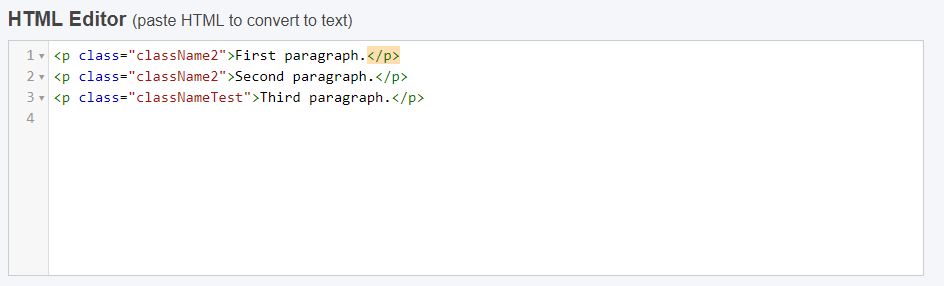
Remove className CSS class from p tags. Input HTML:
<p class="className className2">First paragraph.</p>

<p class="className className2">Second paragraph.</p>

<p class="classNameTest">Third paragraph.</p>

className was removed from first two p tags. Output:
<p class="className2">First paragraph.</p>

<p class="className2">Second paragraph.</p>

<p class="classNameTest">Third paragraph.</p>
Remove class attribute from all p tags. Input HTML:
<p class="className2">First paragraph.</p>

<p class="className2">Second paragraph.</p>

<span class="classNameTest">Third paragraph.</span>
Value field has to be empty in order to delete all class attributes from p tags.

Output HTML:
<p>First paragraph.</p>

<p>Second paragraph.</p>

<span class="classNameTest">Third paragraph.</span>
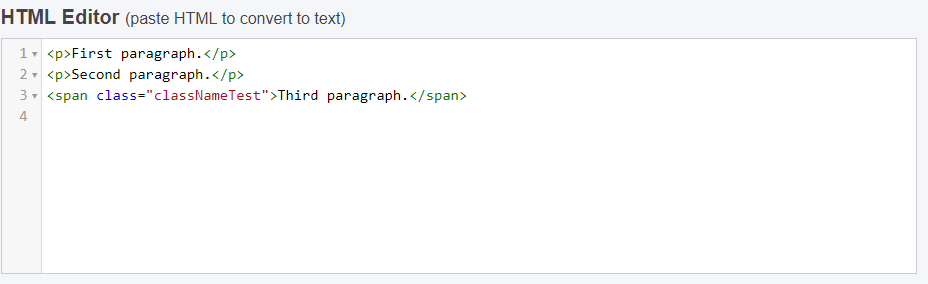
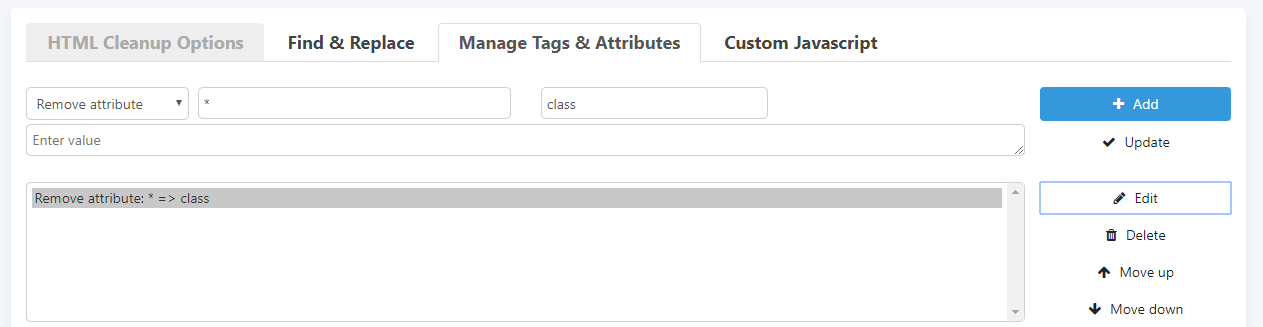
Remove class attribute from every HTML tag (element). Input HTML:
<p class="className2">First paragraph.</p>

<p class="className2">Second paragraph.</p>

<span class="classNameTest">Third paragraph.</span>
Enter * char in tag field in order to remove class from every HTML element. Please note that * char can be used for other tag actions too.
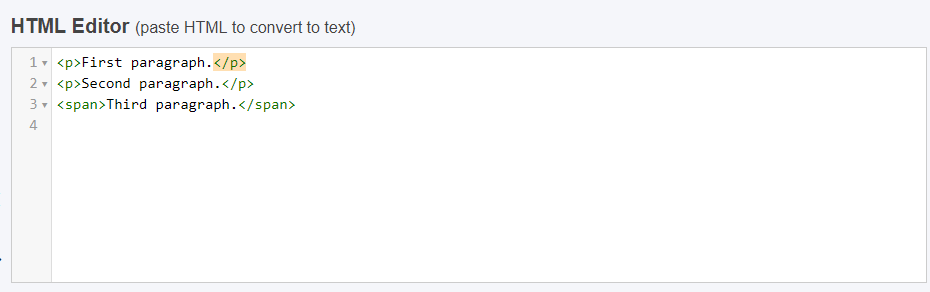
Output:
<p>First paragraph.</p>

<p>Second paragraph.</p>

<span>Third paragraph.</span>
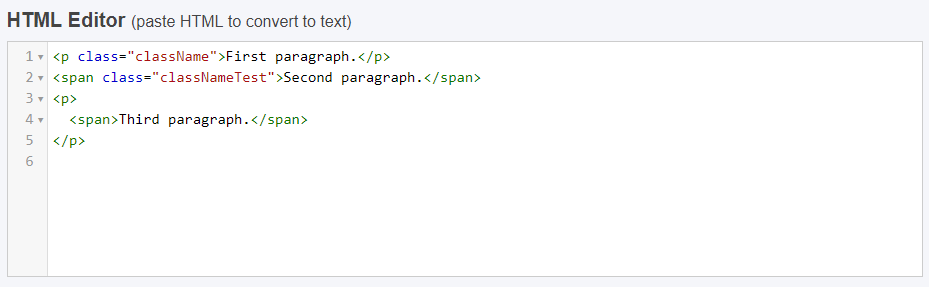
Remove class attribute from <span> tags inside <p> tags. Input HTML:
<p class="className">First paragraph.</p>

<span class="classNameTest">Second paragraph.</span>

<p>

<span class="classNameTest">Third paragraph.</span>

</p>
Entering ‘p span’ means that all <span> tags inside of <p> tags will be affected.
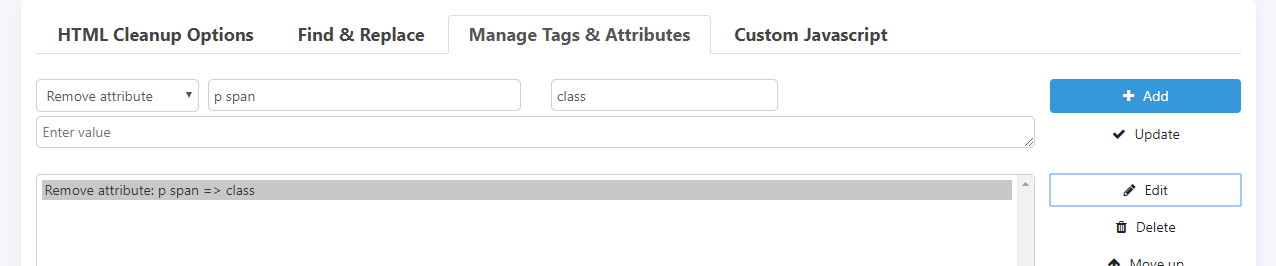
Only class attribute from ‘Third paragraph’ span tag was removed. Output:
<p class="className">First paragraph.</p>

<span class="classNameTest">Second paragraph.</span>

<p>

<span>Third paragraph.</span>

</p>
Append HTML to elements (tags). Input HTML:
<p>First paragraph.</p>

<p>Second paragraph.</p>

<p>Third paragraph.</p>

Each <p> tag was added <span class=”red”>some text</span> before ending </p>. Output:
<p>First paragraph.<span class="red">some text</span></p>
<p>Second paragraph.<span class="red">some text</span></p>
<p>Third paragraph.<span class="red">some text</span></p>
Prepend HTML to elements (tags). Input HTML:
<p>First paragraph.</p>

<p>Second paragraph.</p>

<p>Third paragraph.</p>
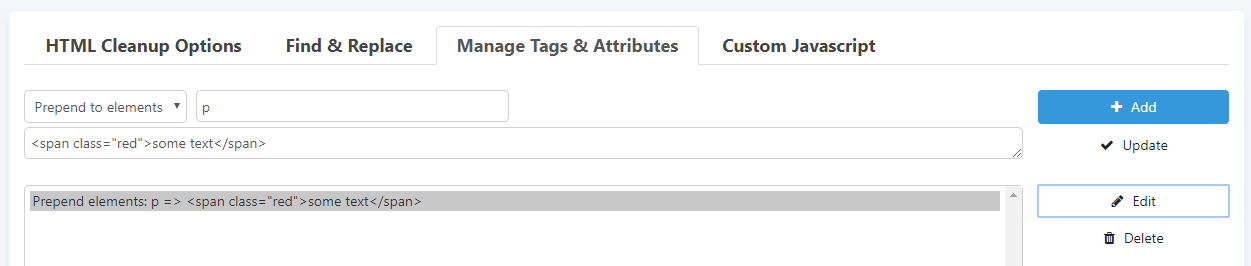
Each p tag was added <span class=”red”>some text</span> after starting <p>. Output:
<p><span class="red">some text</span>First paragraph.</p>
<p><span class="red">some text</span>Second paragraph.</p>
<p><span class="red">some text</span>Third paragraph.</p>
Remove elements from HTML. Input HTML:
<p>First paragraph.
<span class="red">some text</span>
</p>
<p>Second paragraph.
<span class="red">some text</span>
</p>
<p>Third paragraph.
<span class="red">some text</span>
</p>
<span class="red">some other text</span>
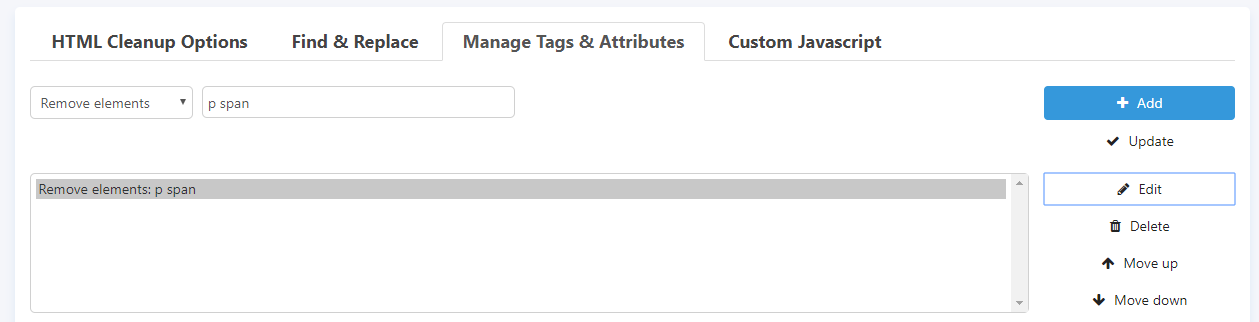
Selector ‘p span’ will remove all <span> tags in <p> tags. Last <span> was not removed because it was not inside of <p> element. Output HTML:
<p>First paragraph.</p>
<p>Second paragraph.</p>
<p>Third paragraph.</p>
<span class="red">some other text</span>
Wrap <p> tags with <div> elements. Input HTML:
<p>First paragraph.</p>
<p>Second paragraph.</p>
<p>Third paragraph.</p>

Each <p> tag will be wrapped with <div class=”wrapped”>… </div>. Output HTML:
<div class="wrapped"><p>First paragraph.</p></div>
<div class="wrapped"><p>Second paragraph.</p></div>
<div class="wrapped"><p>Third paragraph.</p></div>
Wrap <p> tags inner content with <div> elements. Input HTML:
<p>First paragraph.</p>
<p>Second paragraph.</p>
<p>Third paragraph.</p>

Each inner text inside of <p> tags will be wrapped with <div class=”innerWrap”>…</div>. Output HTML:
<p><div class="innerWrap">First paragraph.</div></p>
<p><div class="innerWrap">Second paragraph.</div></p>
<p><div class="innerWrap">Third paragraph.</div></p>
Unwrap <p> elements (remove surrounding <p> elements but keep inner content). Input HTML:
<div><p>First paragraph.</p></div>
<div><p>Second paragraph.</p></div>
<div><p>Third paragraph.</p></div>

Output HTML:
<div>First paragraph.</div>
<div>Second paragraph.</div>
<div>Third paragraph.</div>
Unwrap <div> elements (remove surrounding <div> elements but keep inner content). Input HTML:
<div><p>First paragraph.</p></div>
<div><p>Second paragraph.</p></div>
<div><p>Third paragraph.</p></div>

Output HTML:
<p>First paragraph.</p>
<p>Second paragraph.</p>
<p>Third paragraph.</p>
Replace elements with HTML or text. Input HTML:
<div><p>First paragraph.</p></div>
<div><p>Second paragraph.</p></div>
<div><p>Third paragraph.</p></div>
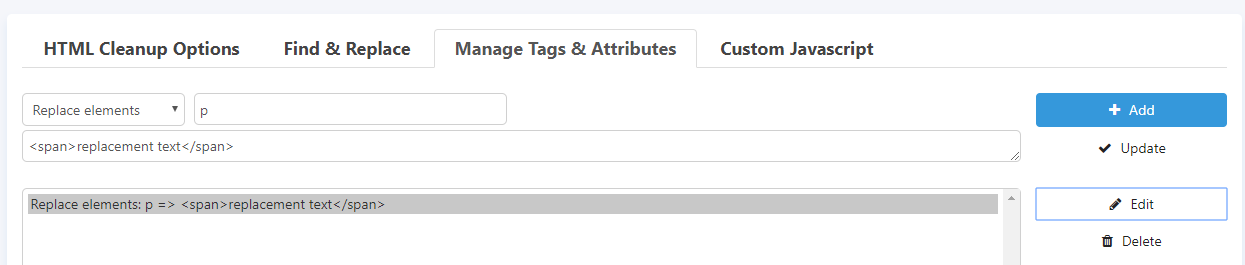
Every <p>…</p> tag was replaced with <span>replacement text</span>. Output HTML:
<div><span>replacement text</span></div>
<div><span>replacement text</span></div>
<div><span>replacement text</span></div>